Programming ESP32 to Hack Dumb Electronics
Making simple devices smart by adding Apple Homekit support
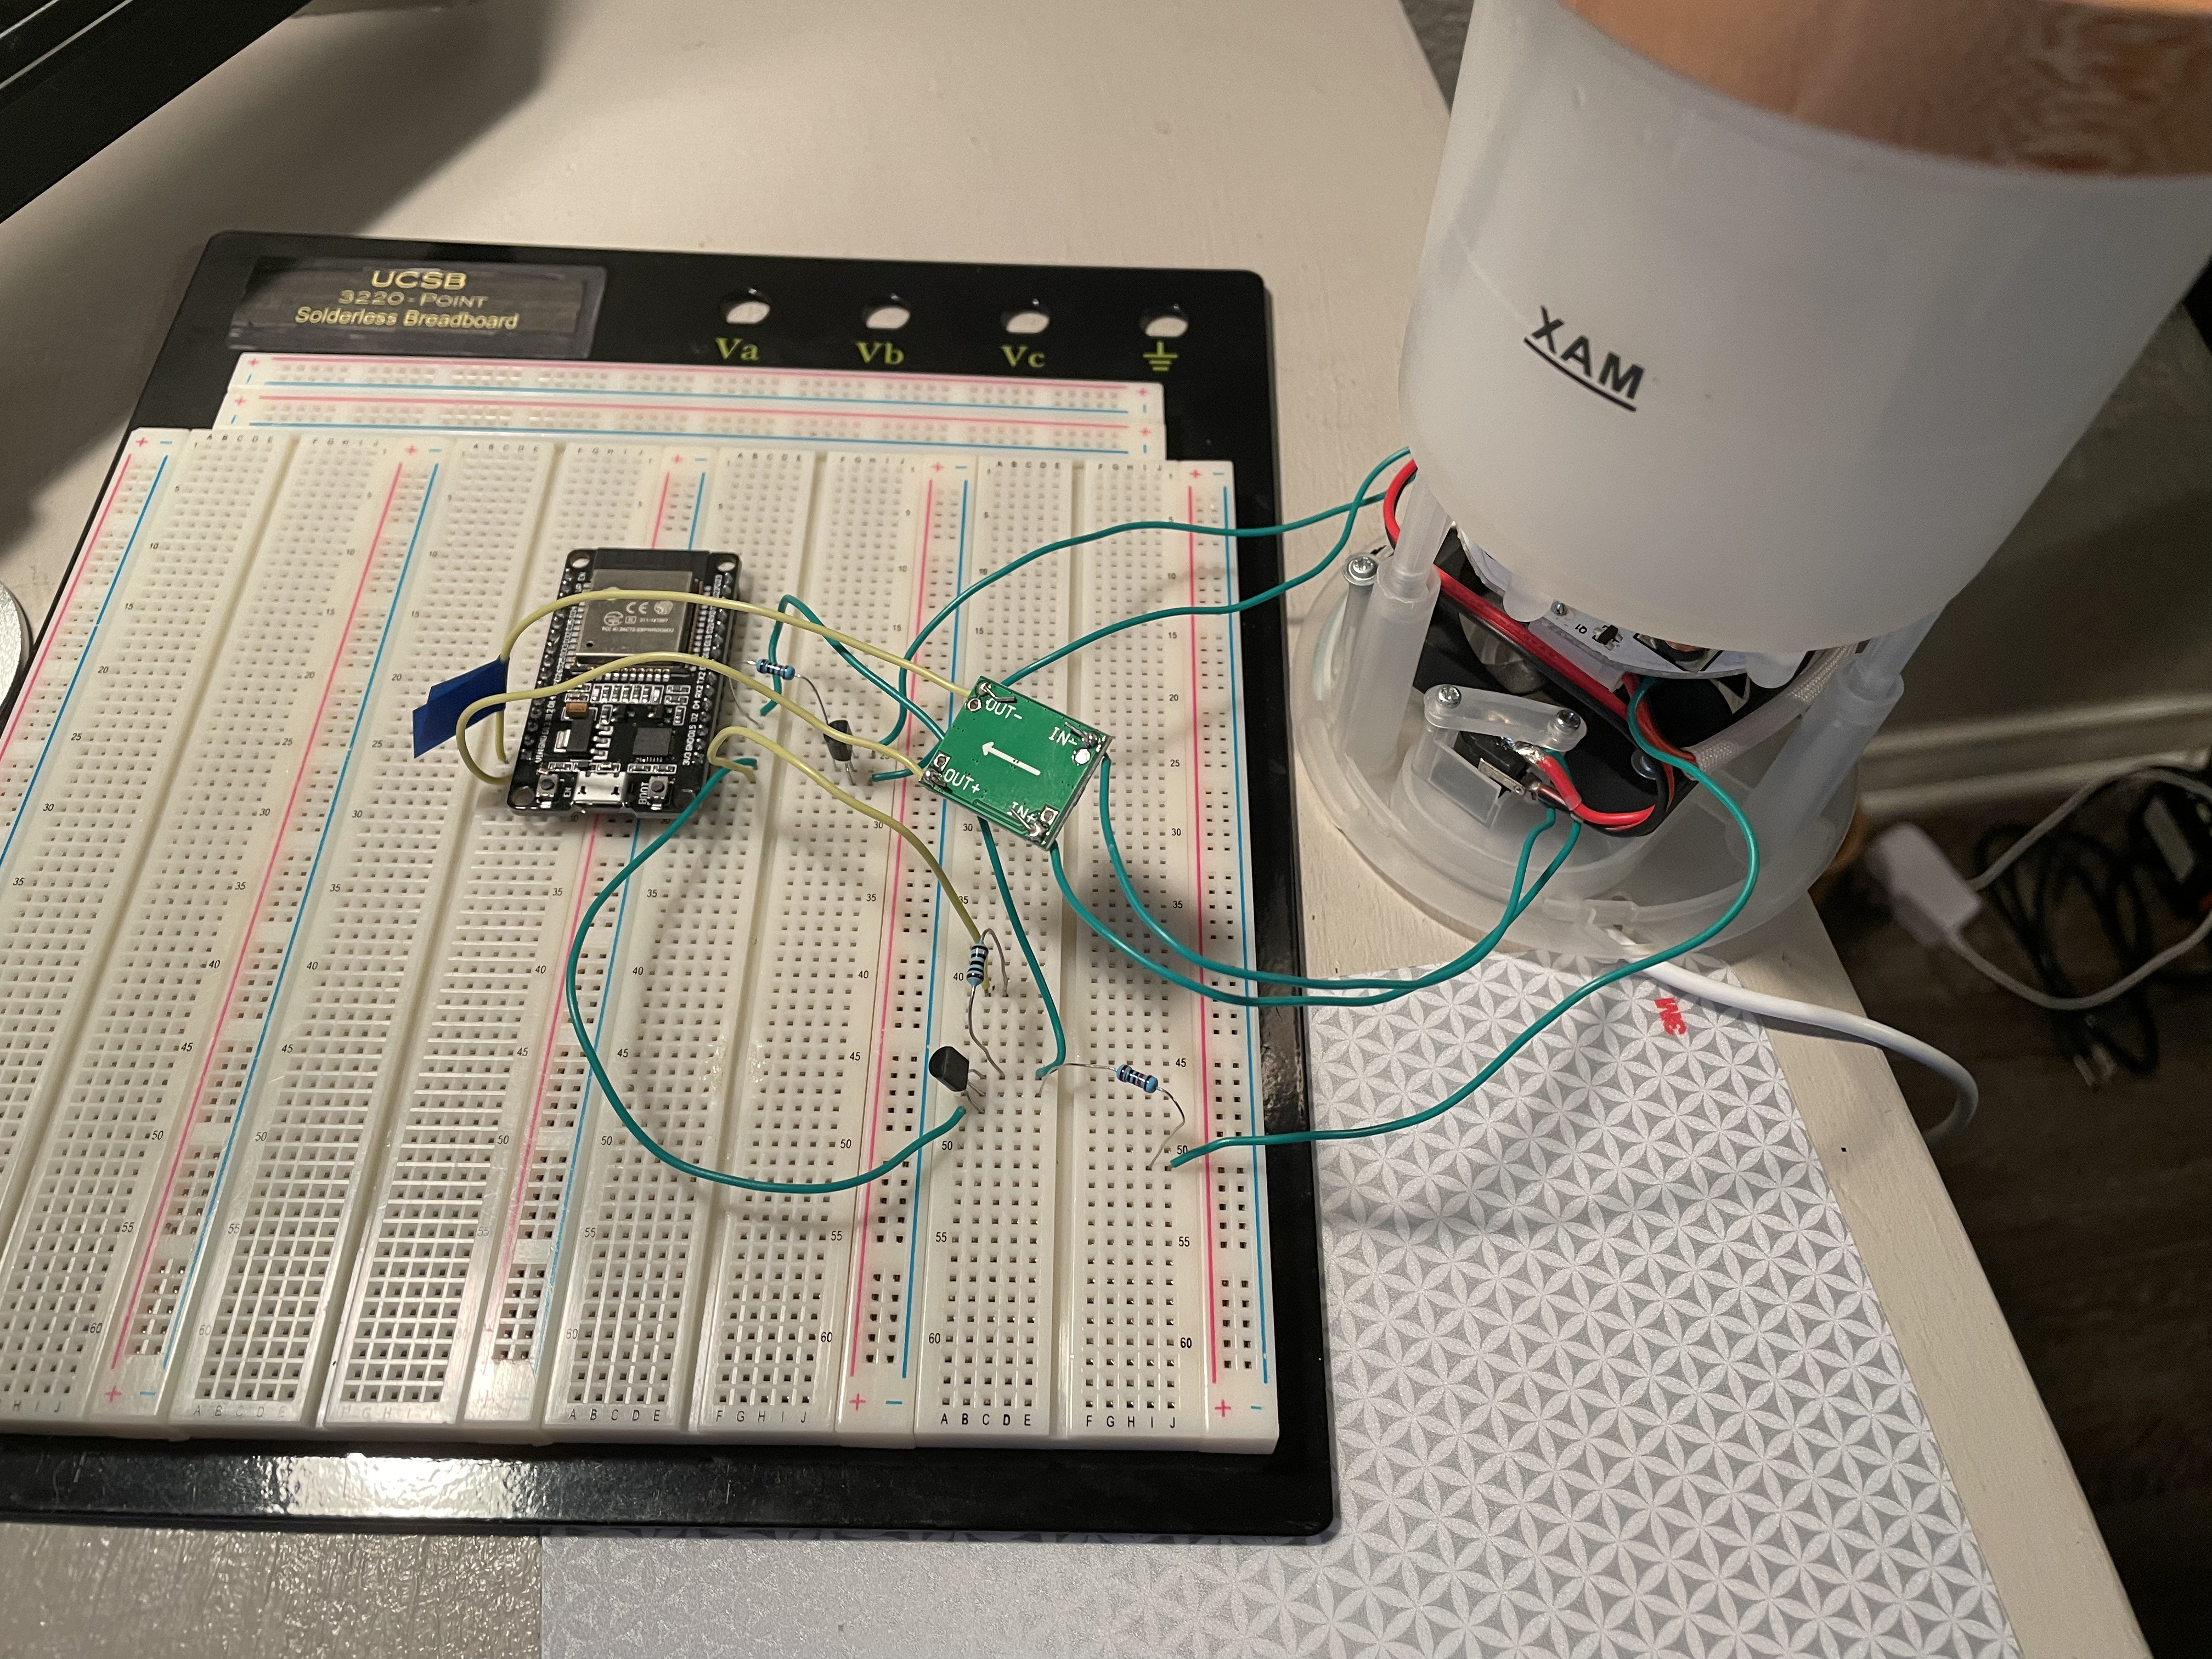
About a week ago I bought an $8 microcontroller from Amazon with the idea of hacking one of our dumb appliances around the house to add Apple Homekit support. After searching around the house, I found an old diffuser that I had wanted to "make smart" for a while now but it didn't automatically turn on when you plugged it in. This diffuser could only be turned on by pressing a power button that cycled it through different modes.
After messing around with it for a while I found that the first power mode was what I wanted and that holding the power button for a little longer than 2 seconds would always turn it off. So I set up my design constraints: 1. I need to be able to turn it on and off using the Homekit protocol 2. I need to be able to still use the buttons to operate the modes manually 3. I need to be able to ready the current state of the device in case it is controlled manually or runs out of water and turns itself off.
To address the first and second constraint, I decided to put a transistor across both sides of the button terminals where the gate would connect to a digital output on the microcontroller. This would allow button presses to be simulated by setting the output on the pin high and then low and also allow the button to still be pressed to control the device as well.
It took a little more experimentation to find a way to read the state of the device for the third constraint. I found that if the device was on, it would power a small computer fan inside with 5V. I could then use this as an input to a transistor to power a pull-up resistor circuit for the input to another pin on the microcontroller. In the main loop of the program, the microcontroller is checking for a voltage on that input pin to see if the diffuser is on or not. If it detects a voltage, it will notify the Homekit protocol of an update in state and would see the status change on my phone.
           1kΩ
            +--------------------------+
            |                          |
            |                          |
            |             +------------+
+-----------+---------+   |            |
|          3.3V       |   |            |              +----------------+
|                     |   |         +--+--+    10kΩ   |                |
|               GPIO16+---+         | FET +-----------+5V POWER        |
|                STATE|             +--+--+           |   SIGNAL       |
|                INPUT|                |              |                |
|                     |                |              |                |
|       ESP32         |     +----------+              |   Diffuser     |
|                     |     |                         |                |
|                     |     |                         |                |
|         CONTROL     |     |    +--------+           |                |
|         OUTPUT   GND+----------+  GND   +-----------+GND      PWR    |
|          GPIO4    5V+----------+5V   24V+-----------+24V     BUTTON  |
+-----------+---------+          +--------+           +--------+----+--+
            |                                                  |    |
            |         +----------------------------------------+    |
            |       +-----+                                         |
            +-------+ FET |                                         |
            10kΩ    +-----+                                         |
                       +--------------------------------------------+
Once I finished prototyping, I soldered all of the wires together and placed the electronics inside of the diffuser body with the other electronics. After a few fried transistors I had gotten it all working. It was a very fun project to work on and I'm excited for what comes next.